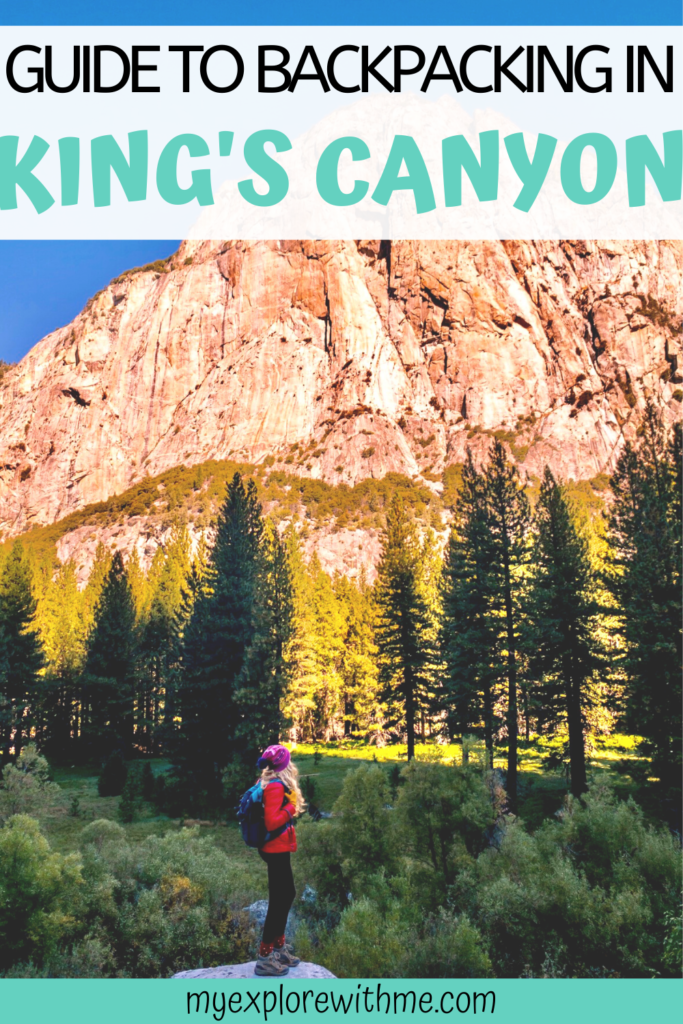
YOUR COMPLETE GUIDE TO BACKPACKING RAE LAKES LOOP
BACKPACKING RAE LAKES LOOP IN 5 DAYS
Most people who come to California to go backpacking tend to explore Yosemite National Park. But, for those of you who are looking for something a little less touristy and just as gorgeous then you must backpack Rae Lakes Loop in Kings Canyon National Park.
King’s Canyon National Park is located in California’s Sierra Nevada Mountains. One of the most common backpacking trails hiked in this park is called the Rae Lakes Loop. Although it is the most common, it still has very low foot traffic compared to Yosemite. It is most common to do this loop over the span of 5 days.
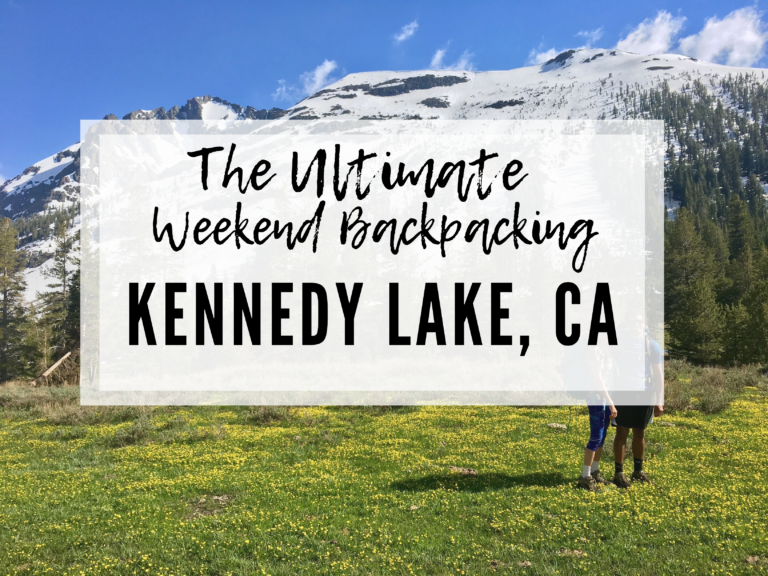
If you are looking for a shorter backpacking trip near San Francisco area then check out backpacking Kennedy Lakes trail. For more information about the fascinating history of Kings Canyons National Park check out Wikipedia’s page.
This article will give you all the information you will need to know for backpacking this loop. I will map out what it would look like for you to backpack this loop in five days as well as give you a breakdown of where to camp each day, information on permits, and safety considerations.
LOCATION AND RAE LAKES LOOP HIKE INFORMATION
First things first. Where is Kings Canyon National Park located? This park is located in California’s Sierra Nevada Mountains just adjacent to Sequoia National Park. King’s Canyon itself was made from a glacier-carved valley more than a mile deep.
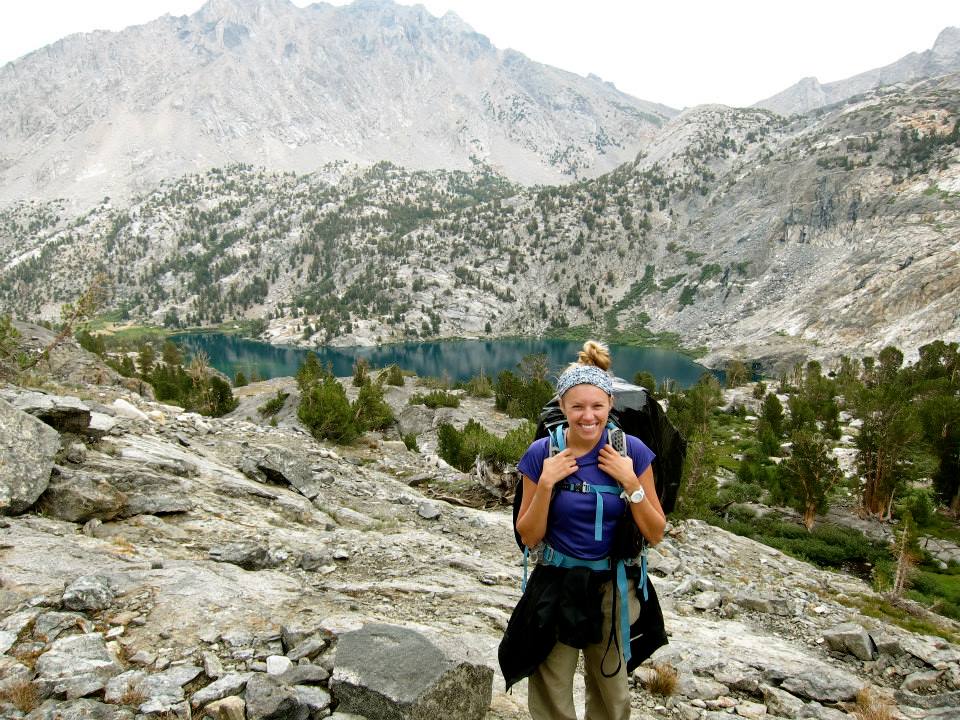
Within Kings Canyon National Park is where you will find the Rae Lakes. This backpacking loop covers a total of 41.4 miles and climbs from 5035 ft to 11,978 ft at the highest peak of Glen Pass.
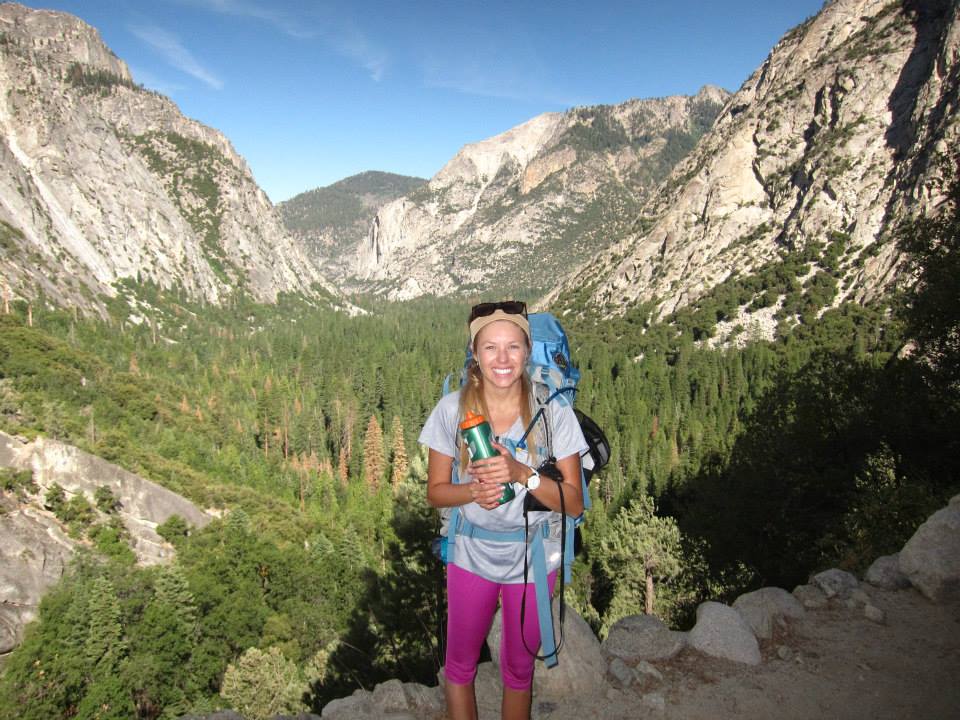
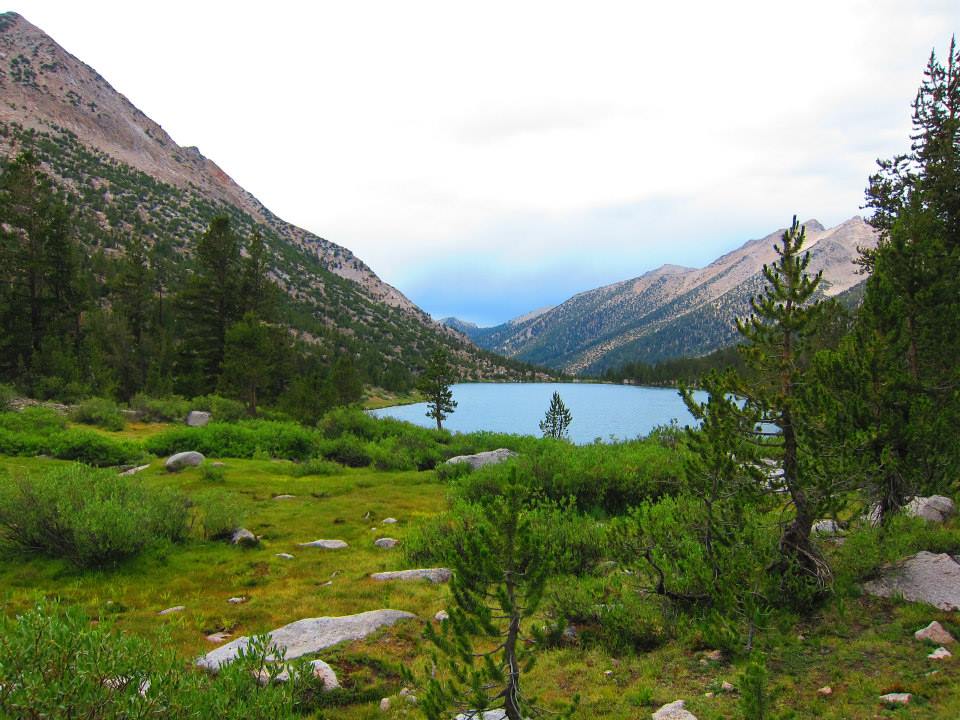
According to the Modern Hiker, “the Rae Lakes loop trail actually consists of three separate but connecting trails that travel through the canyons, across lakes, and over alpine passes.” This 5-day route will offer you epic waterfalls, stunning valleys, beautiful mountains, and jaw-dropping lakes.
The best times to do this hike would be in the summer or fall. Although, this is the most congested time, there are fewer chances of having impassable snow sections.
DETAILS ON HOW TO OBTAIN A PERMIT
Wilderness permits are required for this trail as well as an overnight trip to this National Park. You can reserve a Rae Lakes Loop permit ahead of time or if you want to risk it you can obtain one at the Roads End Station. If you choose not to reserve a permit ahead of time make sure to arrive EXTREMELY early to obtain a permit day of.
This Wilderness Permit application can be done no sooner than March 1st and should be done at least 2 weeks ahead of when you plan to start your hike.
There are no set quota limits for this hike during the regular season. Quota limits are based on the entrance point on a given day. They recommend you provide alternate start dates and trailheads to increase your chances of obtaining permits.
If you plan to do this trail in the off season, then there are no quota limits. Rae Lakes Loop walk-up permits are self-issued and are free of charge in the off season. These can be obtained from the drop boxes located outside the visitor’s centers.
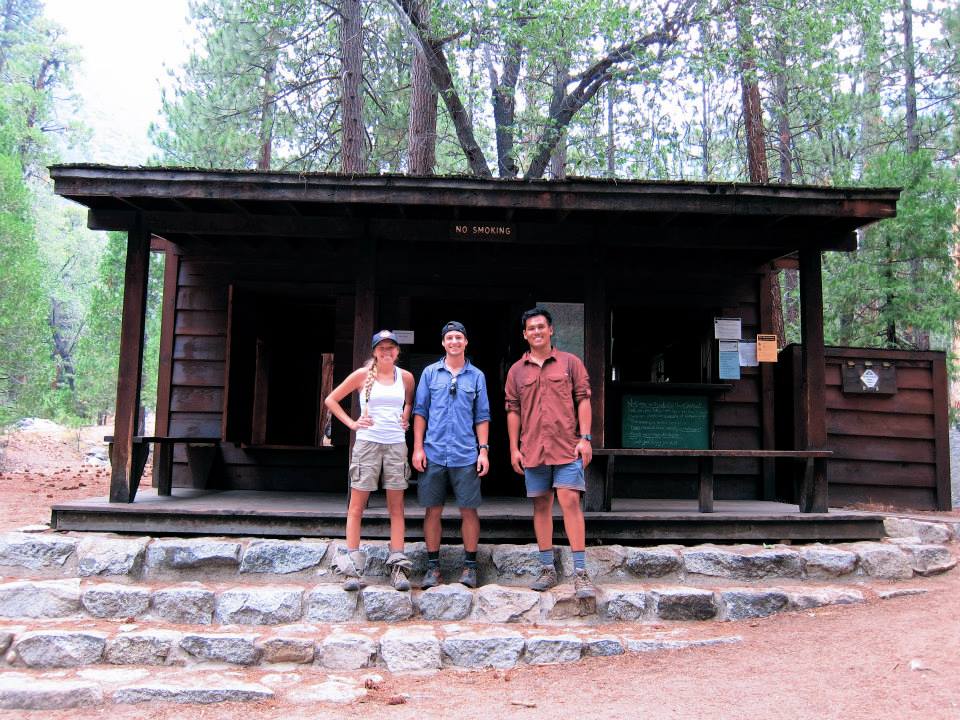
Regardless of whether or not you reserve your permit ahead of time or get it the morning of-you must check-in at the ranger station prior to starting your 5-day loop.
BEWARE OF THE FOLLOWING ANIMALS
Bears have been known to be very active on this trail. Approved Bear canisters are required. Part of the reason you have to check-in at the Ranger’s station prior to starting your hike is so they can check to make sure you have a bear canister. If you don’t have you-you will be required to rent one from the ranger station.
During the warmer seasons also beware of rattlesnakes. Be careful when stepping over rocks as they like to curl up under them.
Mosquitoes are popular as well during the hours of dusk. Remember to bring your bug repellent to keep these creatures away from you and your food.
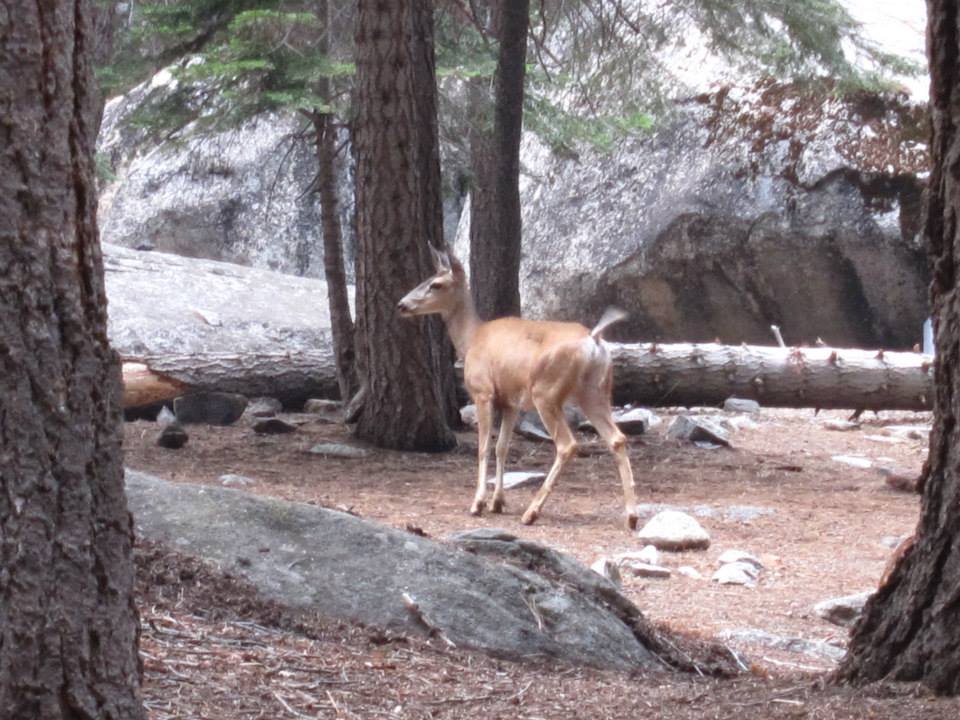
Other than that you may see deer, birds, squirrels, rabbits and much more!
SAFETY AND OTHER NEEDED INFORMATION
Water is almost readily available the entire route. The longest stretch without water is 5.5 miles. Remember to bring your water filtering system and choose to refill your water at parts where the stream is flowing.
Heatstroke and altitude sickness is always a potential on this trail. You will reach a height of 11,998 ft at one point. Please take caution, drink plenty of water and go slow in order to prevent these from happening. As you probably already know, it is recommended that you be in good shape prior to attempting this loop. Don’t forget not only are you hiking at high elevations, but you also have a 40lb bag on your back while doing it.
Campfires are not allowed above 10,000ft. Please observe these rules for your safety and the safety of others.
There are some rules for camping that must be followed as well.
Almost each campground has a bear locker, established sites with fire rings, and in the case of Middle Paradise Valley, an open-air pit toilet.
Please check out the NPS website for information on how many nights you can camp at each location.
As always please remember to Leave No Trace. This means to pack out ALL your trash, and yes that does include toilet paper that you use.
Lots of articles and websites suggest Rae Lakes Loop be done in a clockwise direction due to some of the intensity of hiking; however, I ended up doing Rae Lakes Loop counterclockwise. Both ways can be done, so just read the itinerary in whichever direction you prefer to go.
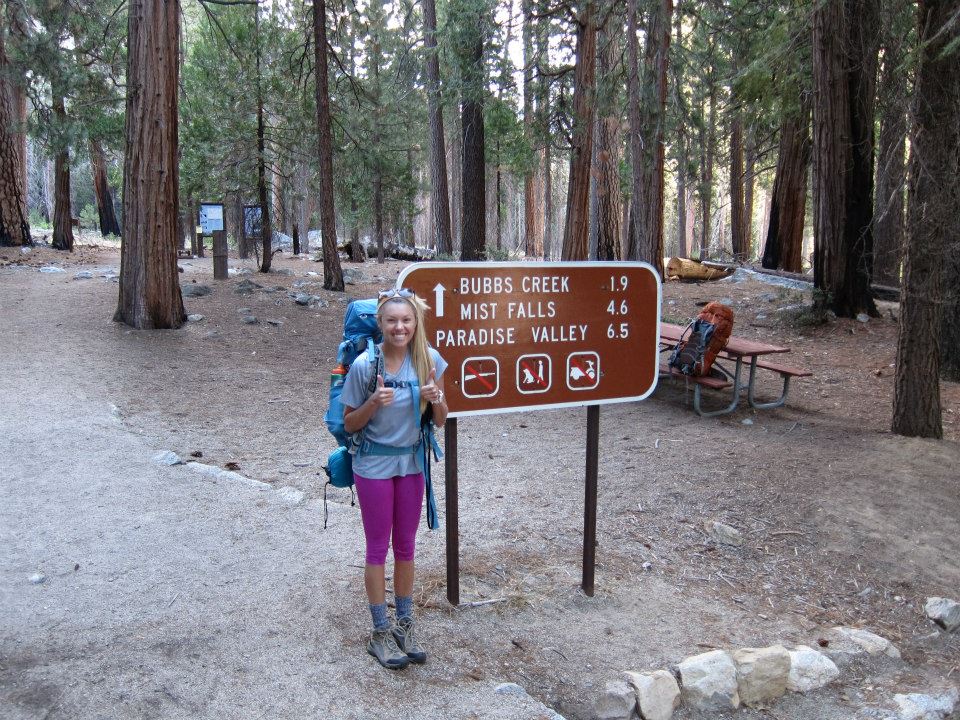
DAY ONE: ROAD’S END TO JUNCTION MEADOW
The trail begins on a wide and sandy 2-mile path, covered by lots of trees that offer quite a bit of shade. At the 2 mile mark, you will veer right towards Bubs Creek.
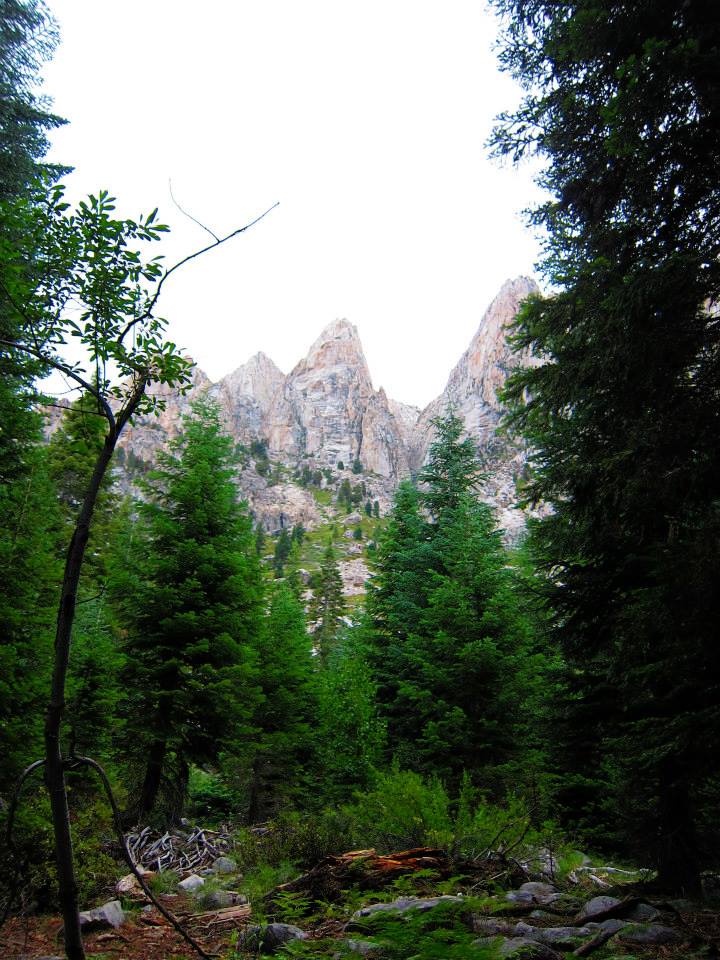
At this point, you will cross three wooden bridges and then begin your ascent up to Junction Meadow. You will now reach a very rapid ascent of switchbacks. Along your ascent up you will hear the roars of Bubs Creek. Once you reach the top of the switchbacks make sure to look back and enjoy the gorgeous views of The Sphinx.
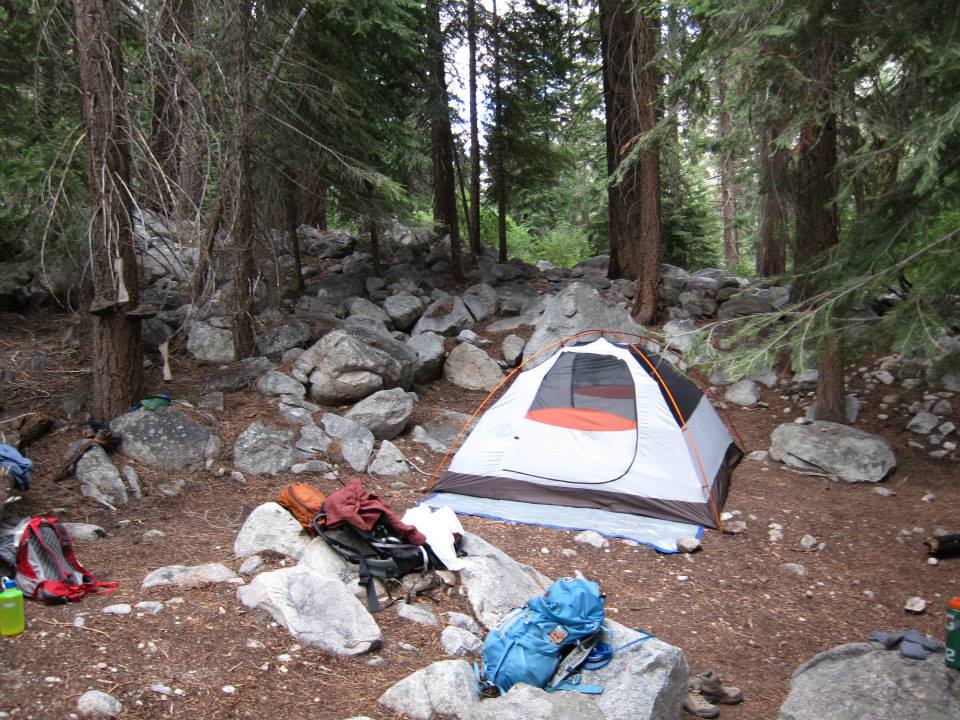
Enjoy the smell of the pine trees as you continue to hike on towards Junction Meadow. You will be hiking near the river for almost the entire first day. You will eventually reach the Sphinx Creek bridge. Just beyond this bridge is your first camping spot. There are quite a few camping sites as well as a bear locker.
Enjoy your first night at camp, refill your waters from the nearby stream using your filtration system, and make sure to pack everything out when you leave the next morning.
DAY TWO: JUNCTION MEADOW TO CHARLOTTE LAKE
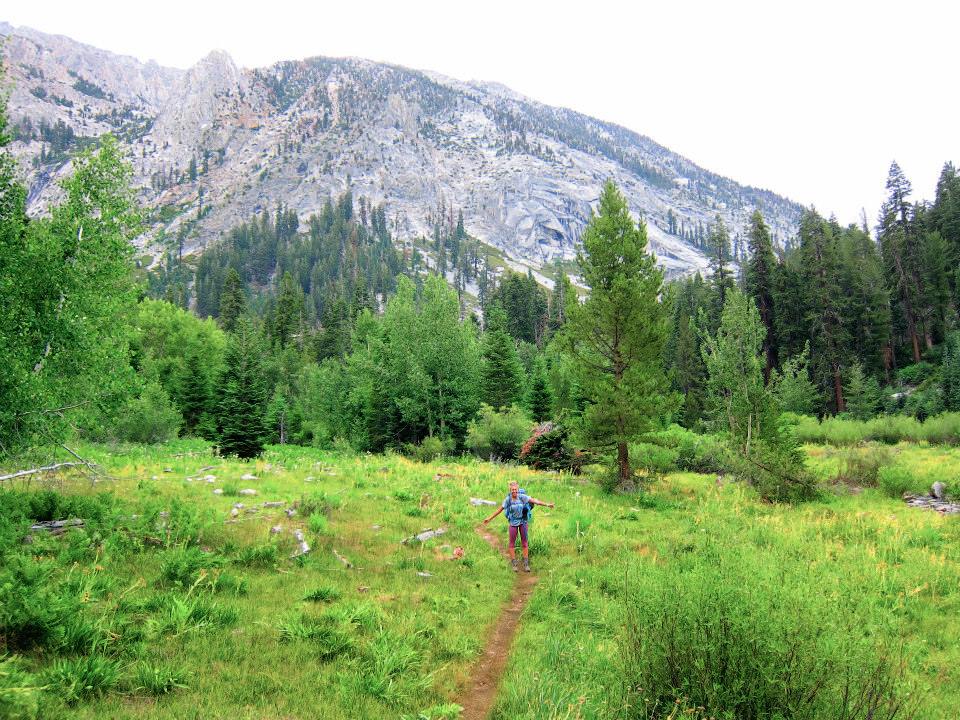
During the first part of your hike this day you will pass ascend through a steep and narrow canyon to finally reach Vidette Meadow. This is a beautiful grassy meadow with views of the mountains in the background.
Our day ended a little early as one of our group members formed some terrible blisters. We took the day slow due to his pain as well as it down pouring on us this day. If you plan to stay at Charlotte Lake you will continue on up the trail and begin a steep ascent once again. You will gain about 1000 ft over the course of 1.2 miles.
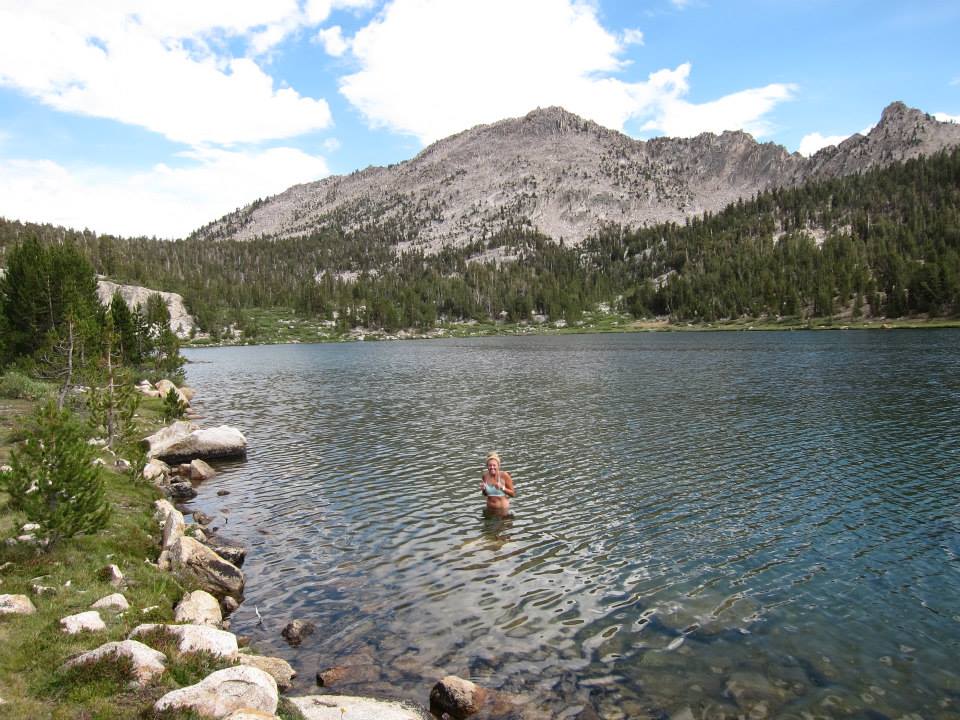
Press on and head on down to Charlotte Lake. The trail to this lake is a little over half a mile and descends about 350 feet. There is an open grassy area that leads to the shore if you choose to go in the water. We personally showered here with our biodegradable soaps.
DAY THREE: CHARLOTTE LAKE-OVER GLEN PASS-TO DOLLAR LAKE
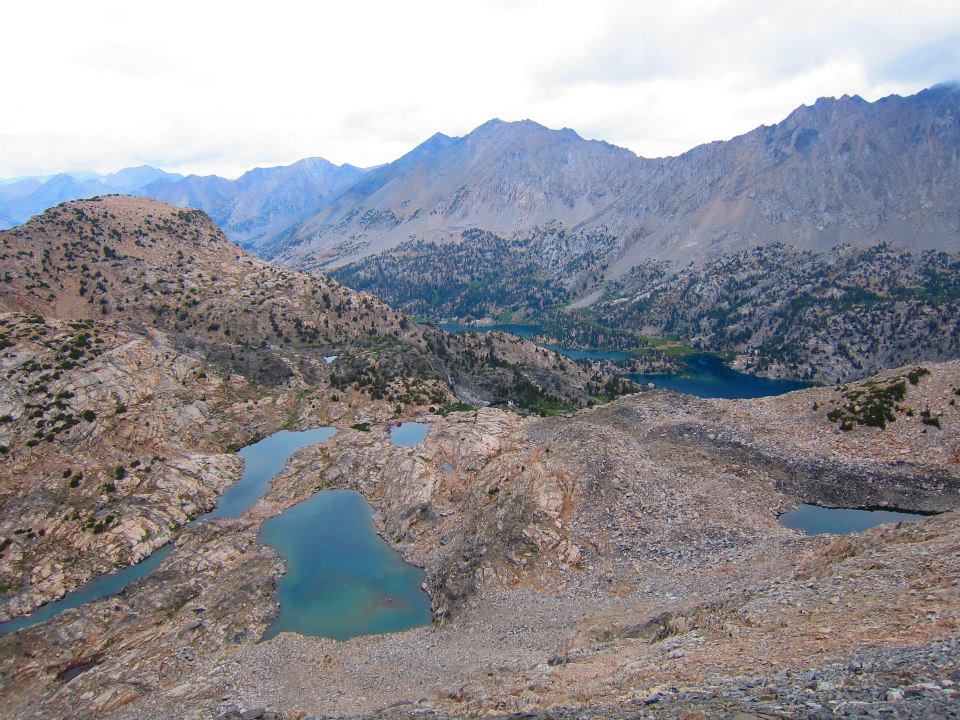
Cross through another junction, hike through a rocky canyon and then begin your steep ascent up Glen Pass. At the top you will be blessed with gorgeous panoramic views of multiple lakes. At the top of this pass is where you will reach your maximum elevation of 11,926.
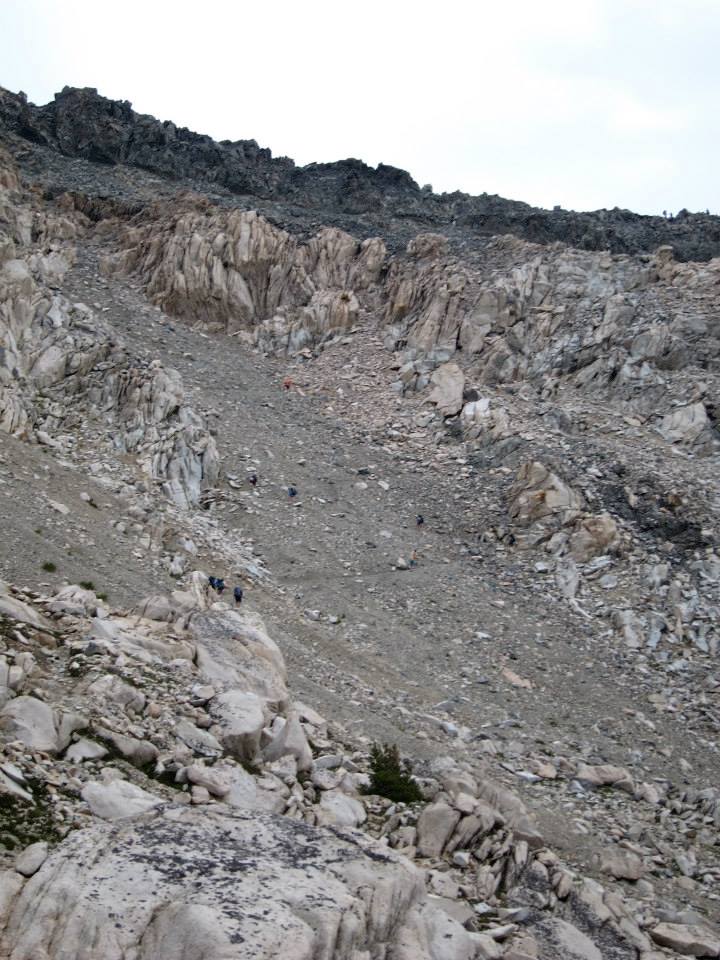
This portion of the hike is where altitude sickness affects most people. Make sure to take it slow while hiking up and over the pass. Keep yourself hydrated and remember to breathe. There was no snow when I did this hike; however, if the pass has snow you may need crampons. Please prepare ahead of time and stay safe.
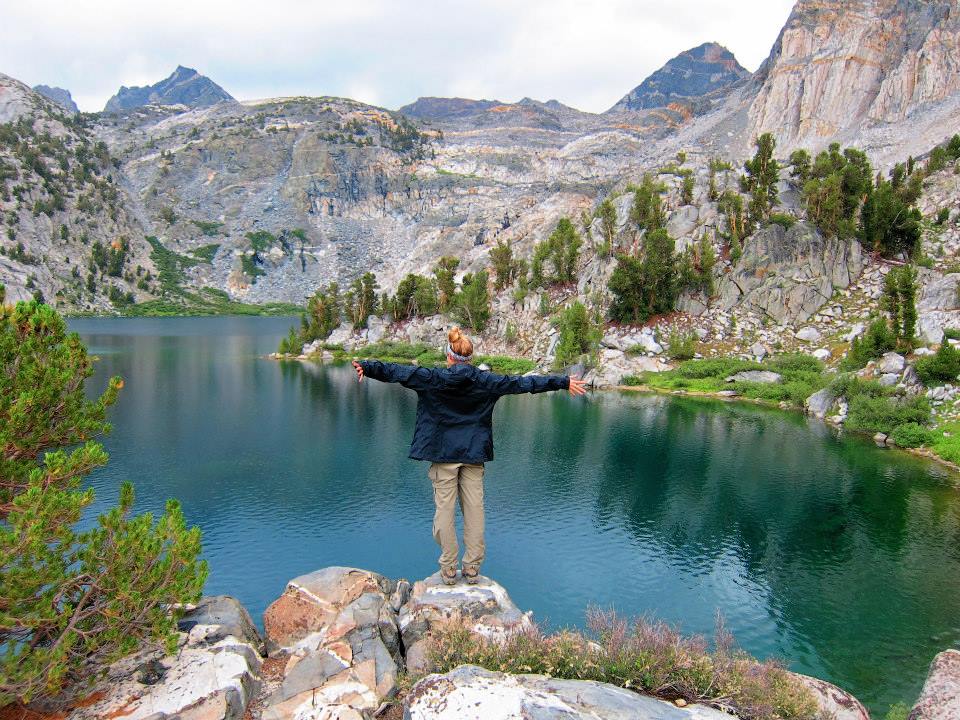
After taking in the stunning views, you now begin your 1,500 ft descent downhill. You will pass lots of lakes and go through many switchbacks. Stop at one of the Rae Lakes to enjoy some lunch, do some cliff jumping, or even fish! Make sure to soak in the views of the Painted Lady and Fin Dome.
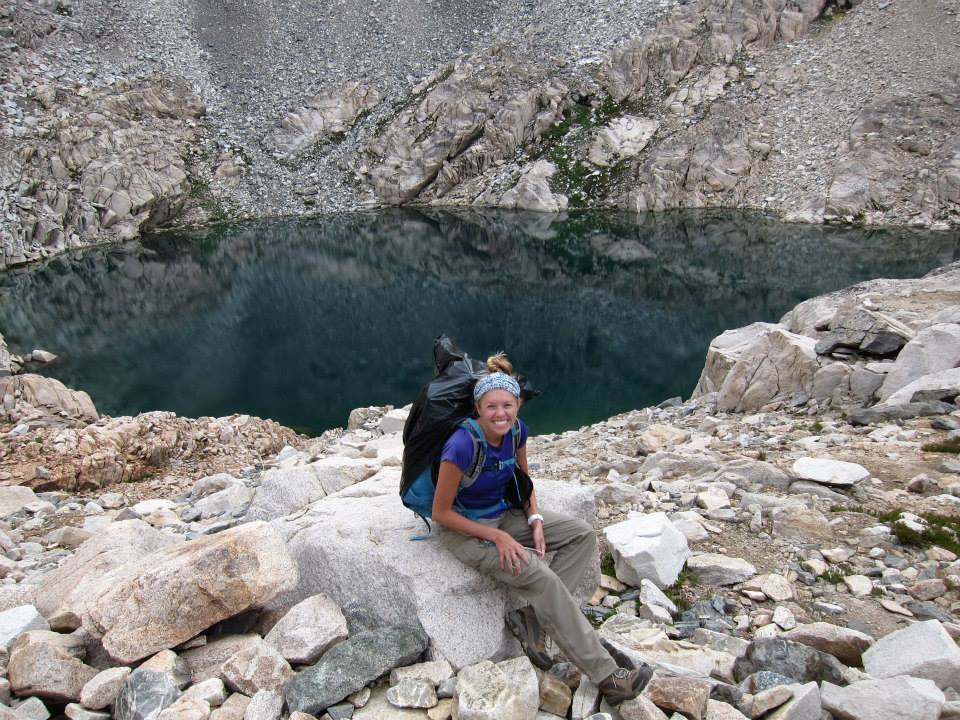
Continue your descent down towards Arrowhead Lake (another option for camping). At Dollar Lake, you will be surrounded by mountain peaks and beautiful scenery with a stream that flows by.
You will find one camping area here west of Dollar Lake. There is a one night camping limit at Dollar Lake. Furthermore, campfires are not allowed here as it is above 10,000 feet.
DAY FOUR: DOLLAR LAKE TO UPPER PARADISE VALLEY
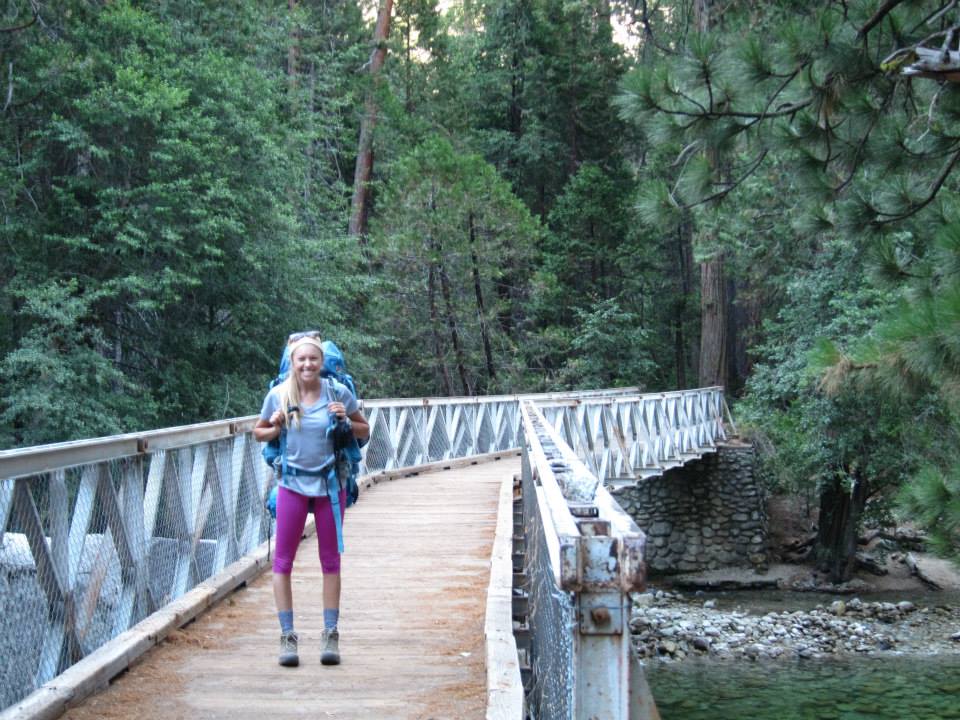
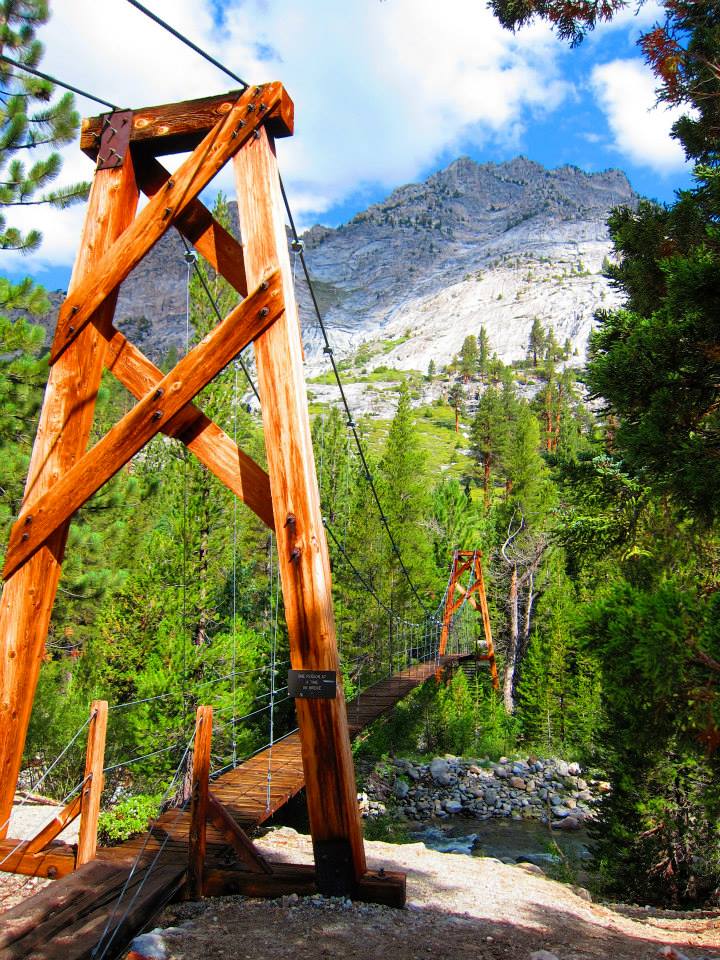
First of all, this day will be full of great views for you. Around five miles into your hike this day you will enter a rain forest of trees. Here is where you will see the infamous Woods Creek swinging bridge ahead of you.
This swinging bridge is a rickety bridge that cross the span of the Woods Creek. It marks the intersection for the John Muir Trail and Paradise Valley trails.
Continue over the bridge, traverse through ups and downs, ascend up the trail into a meadow and cross over another bridge.
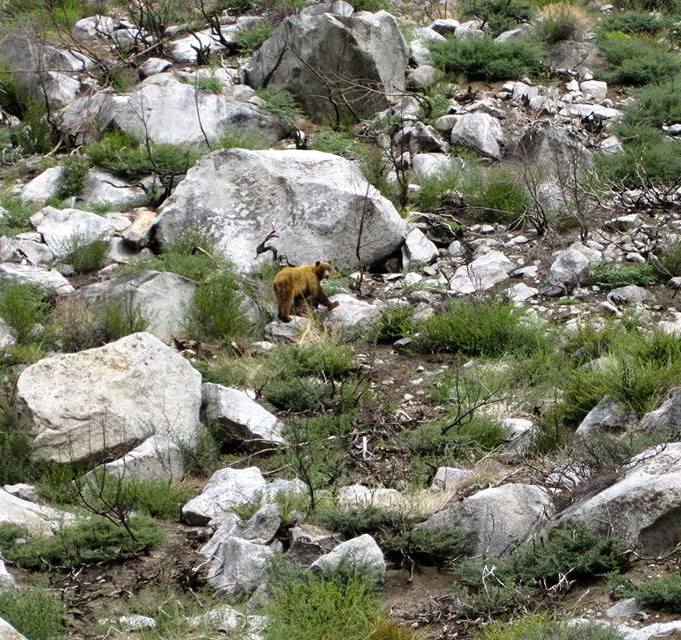
Side note: This is where we came across a bear on our hike. He was up on a hill, but still a very scary moment. There are no grizzly bears in King’s Canyon National Forest, but please still be aware of bears.
Keep your distance from them. If they attempt to charge you, make yourself look big and scream and yell.
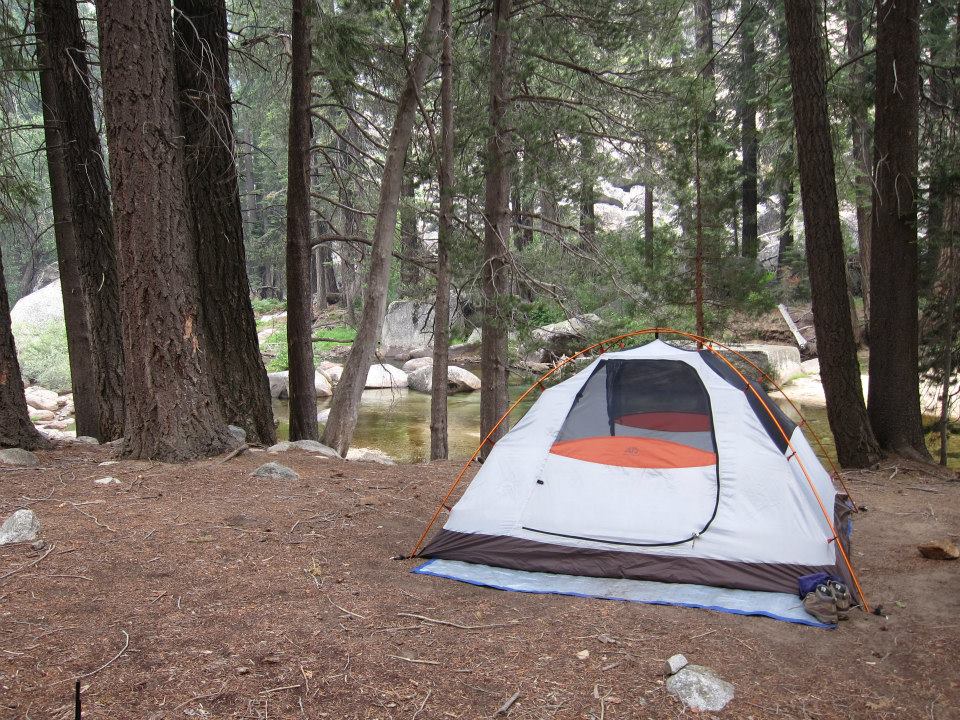
End your last night sleeping at Upper Paradise Valley. Enjoy a camp spot near the river bend and fall asleep to the sound of the rushing river.
Your last day of hiking! You got this!
Finally you will finish off your hike by heading out of Upper Paradise Valley and back out onto the trail. Hike through the forest and arrive in a sunny meadow to enjoy some lunch. Head on out to the lower portion of Paradise Valley.
Continue on the trail along the river until you reach a pool that looks inviting to swim in, but don’t! The current is too strong and dangerous here. You are getting close to the end!
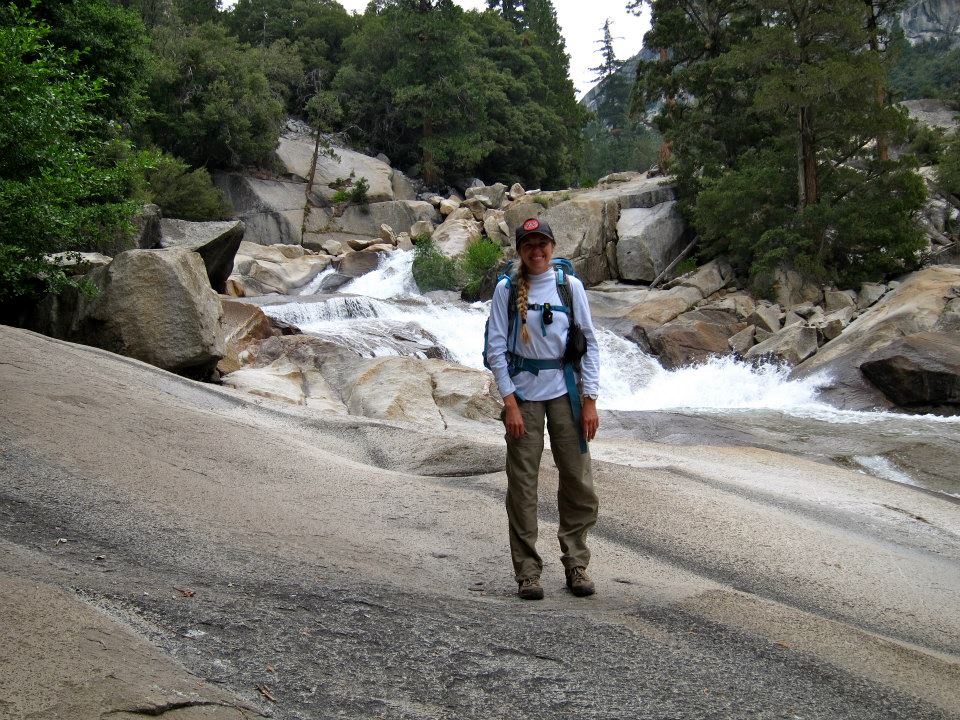
Keeping hiking until you begin your descent down to Mist Falls. Parts of this trail are over exposed granite. Be careful as this can get slippery at times! You will begin to see day hikers as Mist Falls is a popular day hike destination.
The next two miles is “mosquito alley,” but seriously where your bug spray here. The bugs are real. This part of the hike is mostly shaded
Finish off the hike through the sandy path filled with pine trees, oak trees and smells of cedar. Take in the last looks of the huge granite mountain sides on each side of the canyon.
YOU DID IT!
Wow what a great job! You should be proud of yourself!
What next? Go home and take a nice hot shower, soak your feet, get a massage or pedicure, eat a hamburger and take a day or two to relax and readjust to “normal” life.
Rae Lakes Loop is definitely not an easy hike, but it is one of the most spectacular backpacking trips you can do! Stay safe and enjoy!
You may be interested in doing a shorter backpacking trail along the coast of Highway 1 in Big Sur.
Like this post!? Save it for later and pin it!

The detail and the beautiful pictures entices me to take up backpack hiking and go to each of your posted hikes. Really appreciate all the time you put into each post. Your variety of hikes, workouts, diets keeps me anticipating the next blog with wonderment of what you will write about. Keep up the great blogging.
Thank you so much! Looking forward to blogging about our time in GNP!
Fantastic review and great detail. Just completed the CCW Rae Lakes Trail loop on 9/5. Similar route, but different campsites over four nights. We camped Junction Meadows night one (incredible site right on the river), the middle Rae Lake night two (once over the pass, exhaustion set in), Woods Creek Crossing on night three (least favorite), and middle Paradise on night four (storms caused dead trees to drop limbs) – scary! Easy hike out to final day and back to civilization… Grabbed burgers and beers at the Roads End restaurant (amazing). Fantastic hike!
Thank you! Isn’t the trail so beautiful!? Glad you had a great time! I will have to check out that burger place next time 🙂
What a fun trip! The views alone are breathtaking, so many great memories too!
Hi Chelsey! Thank you so much for sharing your experience. It’ll be my first time here this summer and reading everything is super helpful. I’m excited to see what you did!